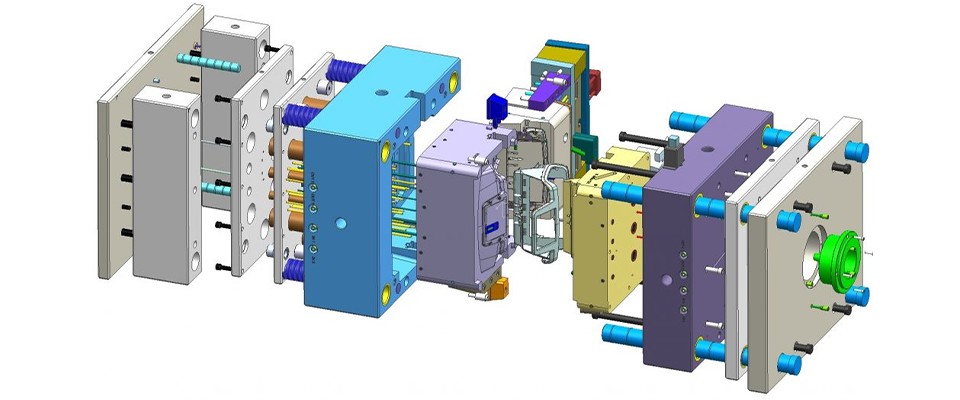
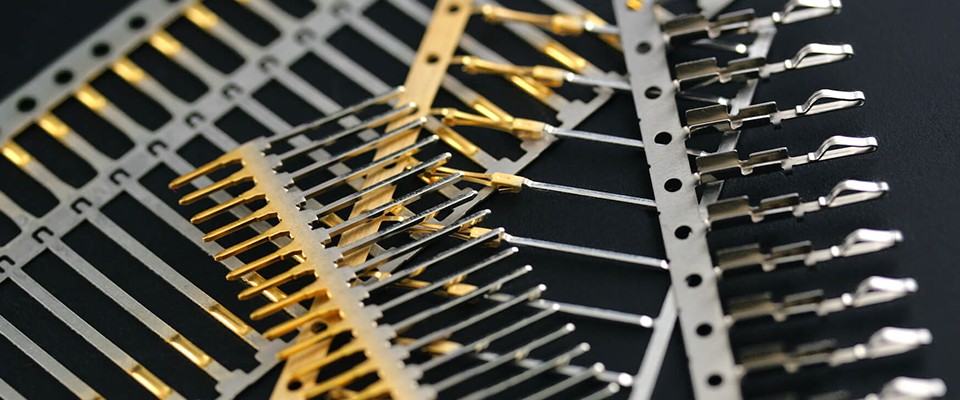
The true cost of forceful disassembly goes far beyond the broken component:
Surface Damage: Scratches and dents on critical surfaces lead to flash, burrs, and product defects.
Invisible Cracks: Stress points become ticking time bombs, causing sudden mold failure.
Lost Accuracy: Bent guide pins or distorted mold bases throw off alignment forever.
Soaring Costs: Emergency repairs, remakes, line shutdowns… every hammer blow bleeds your profit.
The solution? Embrace a gentle, methodical approach to mold disassembly.
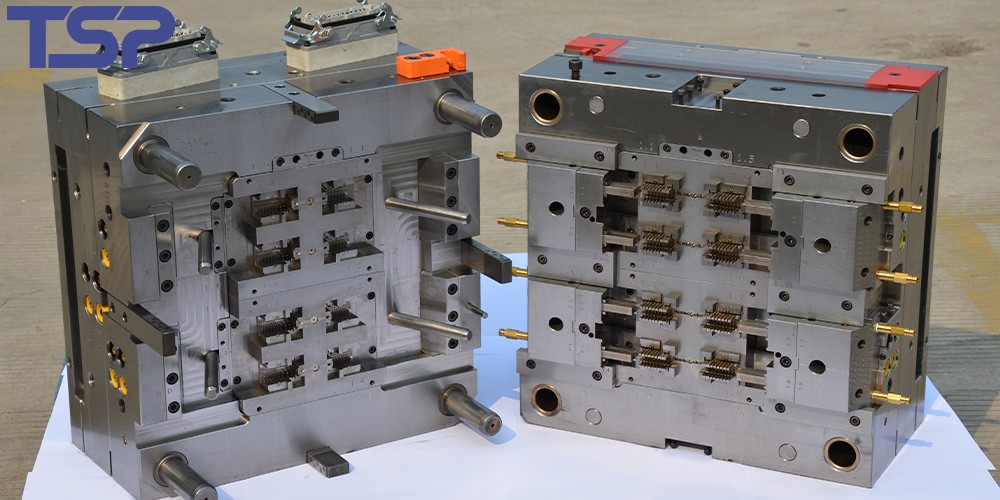
🛠 Principle 1: Clean and Inspect Before Disassembly
Disassembly is not a race—it’s a strategic operation. Dirt, residue, and corrosion are hidden enemies.
✔ Complete Cleaning:
Use solvent or cleaner to remove grease, plastic residue, and rust.
Clear ejector pinholes, guide pin holes, and cooling channels with air or brushes.
Dry thoroughly and apply light anti-rust oil to prevent further corrosion.
✔ Careful Inspection:
Always review the 2D/3D mold drawing first, if available.
No drawing? Take photos/videos of the mold from multiple angles.
Label and mark every ejector, insert, or small part clearly to avoid confusion later.
👉 Takeaway: Cleaning is the lubricant for smooth disassembly. Inspection is your GPS for safe reassembly.
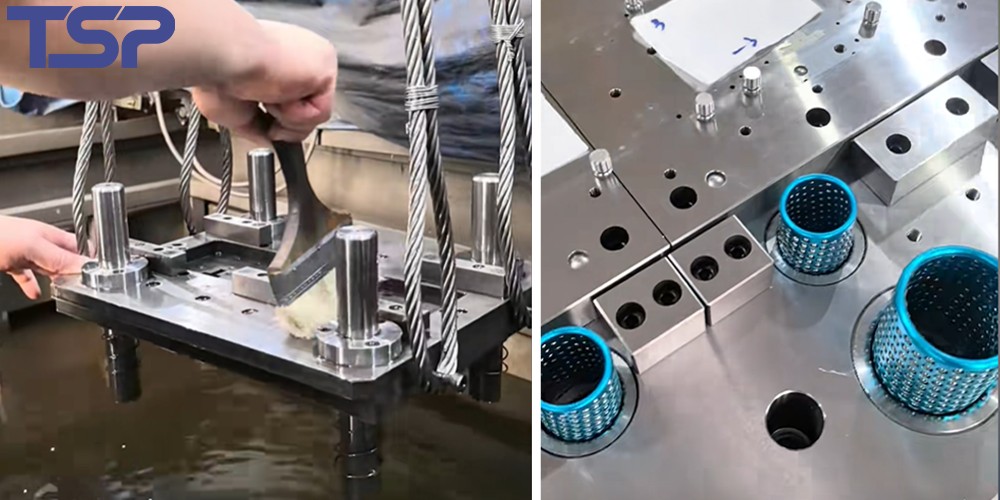
🔧 Principle 2: Use the Right Tools – Precision Over Power
Retire the steel hammers! Use controlled, specialized tools:
✔ Use Mold’s Built-in Ejection System First
Engage the ejection system of the injection press for gradual, small-stroke ejection.
Never use full force at once.
✔ Manual Assistance:
Use brass or hardwood rods with a light hammer (0.5–1kg) when necessary.
Never strike mold surfaces with steel tools!
✔ Hydraulic Pullers & Induction Heaters:
Best for removing bushings, inserts, and press-fitted components.
Always ensure aligned force and avoid off-axis loads.
Induction heaters: Heat only the target part (typically under 250°C), reducing deformation risks.
✔ Torque Wrench for Bolt Removal & Assembly:
| Bolt Size | Recommended Torque (Nm) |
|---|---|
| M6 | 10 |
| M8 | 25 |
| M10 | 50 |
| M12 | 85 |
| M16 | 210 |
| M20 | 400 |
Always loosen bolts diagonally and gradually to release internal stress.
Calibrated torque wrenches must be used for reassembly—no more “feel-based tightening”!
📋 Principle 3: Disassembly Logic + Full Documentation = Flawless Reassembly
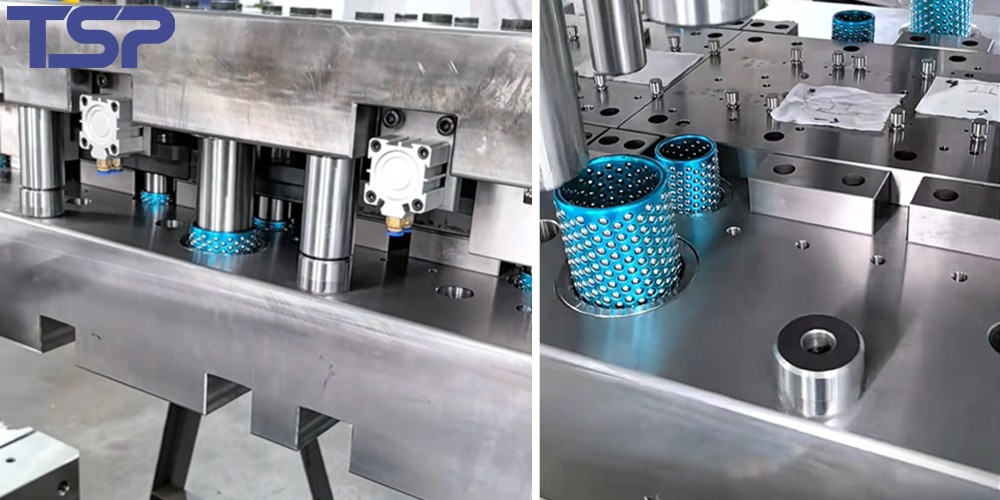
Precision molds are like complex watches. One wrong step in disassembly can make reassembly impossible.
✔ Recommended Disassembly Order (Example: Injection Mold):
Remove external clamps and hardware.
Disengage side-action components (slides, angled pins, etc.).
Open mold—use soft-tipped pry bars at designated slots.
Remove ejector system (base plate, pins, etc.).
Remove cavity/core inserts.
Detach guide pins and alignment parts.
✔ Documentation Tools:
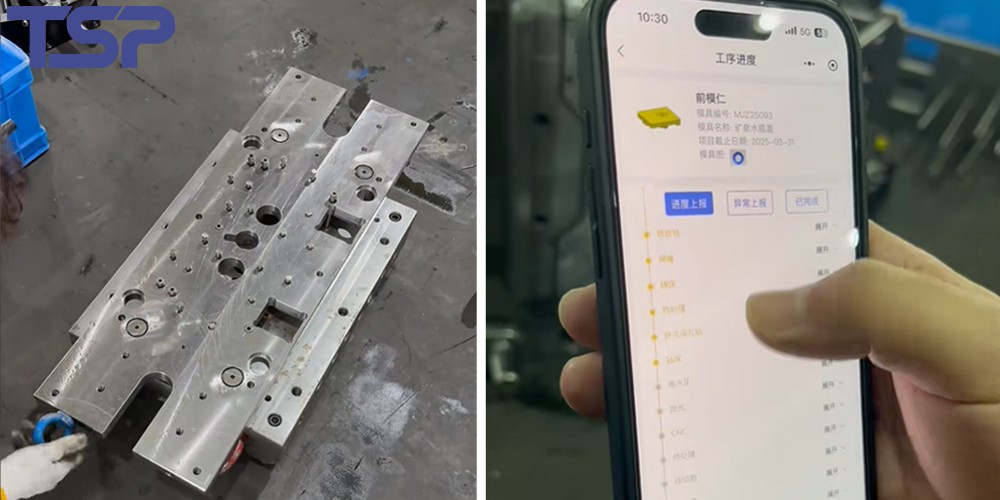
Photos & Videos: Capture every assembly stage.
Permanent Markings: Engrave or label each part clearly.
Checklists: Record wear, damage, or missing parts.
Sketches: Draw exploded views or part positions as needed.
💡 Final Thoughts: Gentle Disassembly is the Smartest Investment
Violent disassembly isn’t just outdated—it’s profit sabotage. The “3 Gentle Principles” ensure:
Higher product quality
Fewer defects and repairs
Less downtime
Extended mold life (10%+)
📊 One auto parts company reduced abnormal mold damage by 40% and saved $120,000 annually after adopting gentle disassembly protocols.
👉 Precision manufacturing deserves precision care. Start today—trade your hammer for a torque wrench, and make every disassembly a step toward longer mold life and leaner production.
To read more: TSP Shanghai Achieves 1000KW Solar Power Milestone

