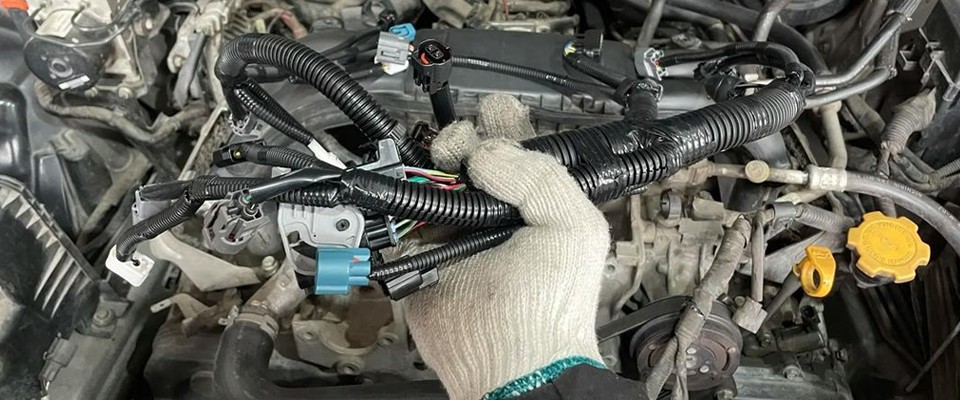
Wiring harnesses are the backbone of any electrical system, ensuring reliable power and signal transmission in cars, industrial equipment, and medical devices. Over time, however, they can wear out, leading to malfunctions that are difficult to trace.
If you’re asking “how to check a wiring harness”, this guide will walk you through the essential methods, tools, and best practices.
Why Checking a Wiring Harness Matters
Safety: Faulty wiring can cause short circuits, overheating, or even fires.
Reliability: In vehicles, a damaged harness can lead to engine misfires, lighting issues, or starting problems.
Cost Efficiency: Detecting problems early prevents costly repairs and downtime.
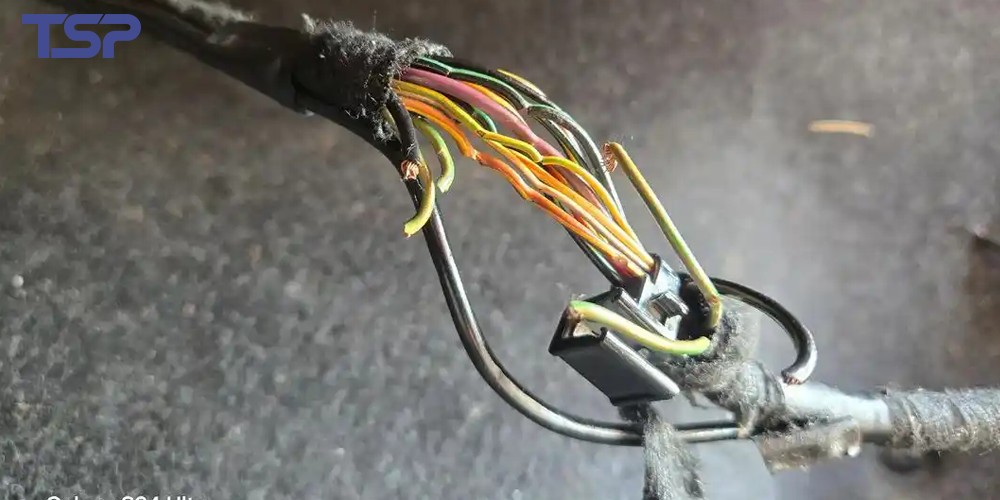
Common Signs of a Faulty Wiring Harness
Before testing, look for warning indicators:
Flickering lights or intermittent electrical functions
Burning smell or melted insulation
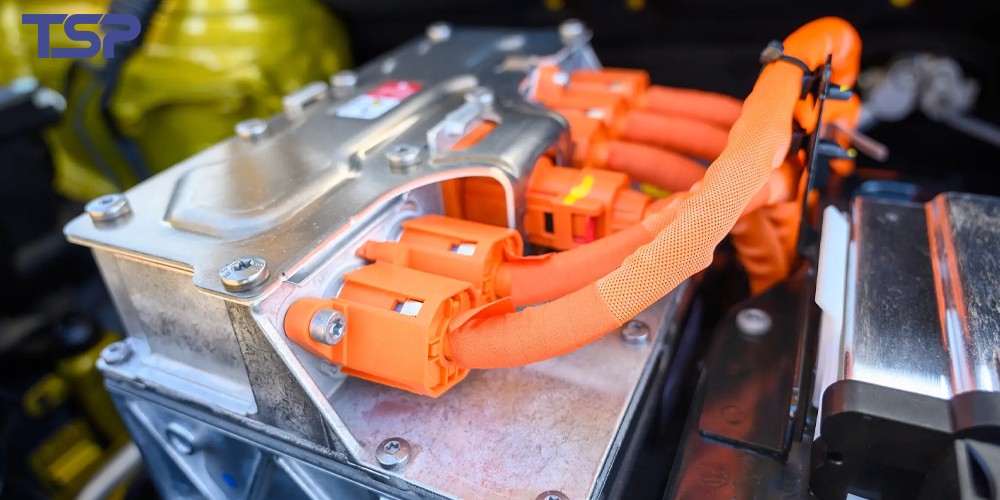
Corrosion around connectors
Exposed, frayed, or pinched wires
Error codes from onboard diagnostics
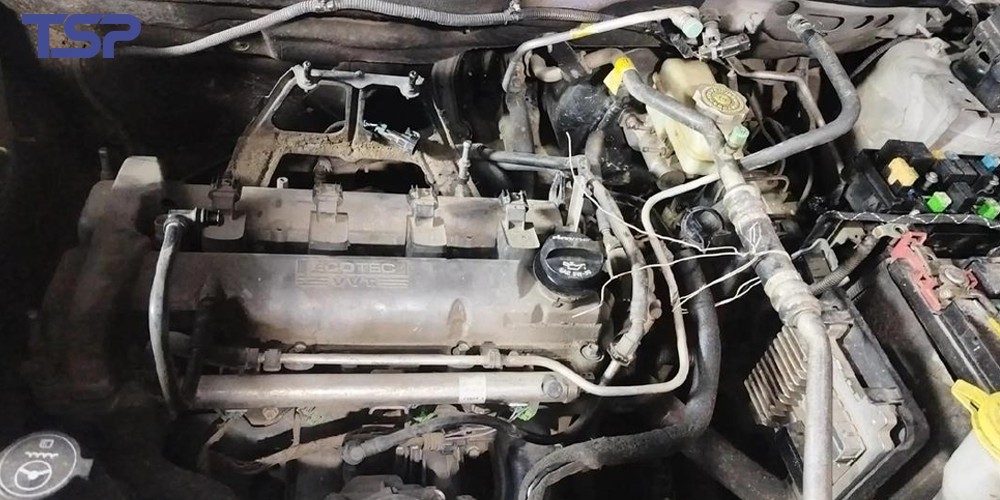
Step 1: Perform a Visual Inspection
Start with the basics:
Look for cracks, abrasions, or discoloration in insulation.
Check connectors for rust, loose pins, or dirt buildup.
Verify that wires are not routed too close to heat sources or sharp edges.
👉 Tip: Most problems are visible before they are electrical.
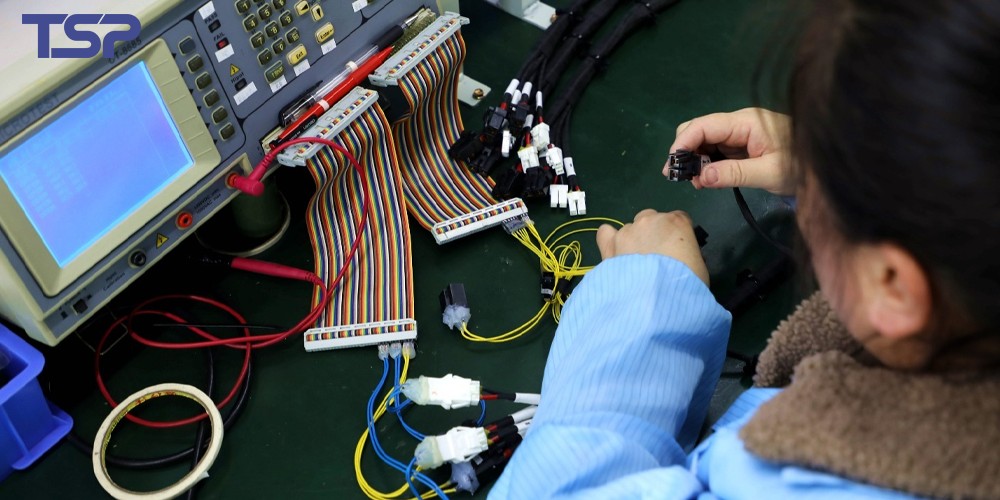
Step 2: Use a Multimeter for Continuity Testing
A multimeter is the most common tool for checking wiring harnesses.
Disconnect the battery to ensure safety.
Set the multimeter to continuity mode.
Place probes at both ends of the wire.
Beep or near-zero resistance = good connection.
High resistance or no reading = break in the wire.

Step 3: Voltage Drop Testing
Even if continuity is fine, a wire may still have excessive resistance.
Run the circuit under load.
Measure voltage at the power source vs. the end device.
A voltage drop greater than 0.5V usually indicates corrosion or damage.
Step 4: Wiggle Test
Sometimes faults only show under movement:
Gently move the harness while monitoring continuity or live circuit behavior.
If readings fluctuate, there may be an internal break or loose connector.
Step 5: Advanced Testing Methods
For more complex systems:
Test lights: Simple check for power presence.
Circuit tracers & signal injectors: Help locate breaks in hidden harnesses.
OBD-II diagnostics (for cars): Scan error codes pointing to faulty circuits.
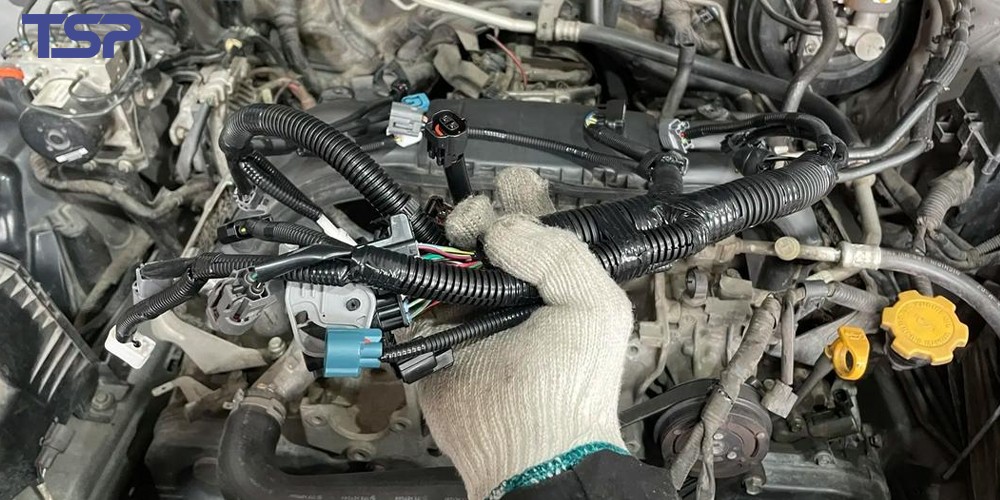
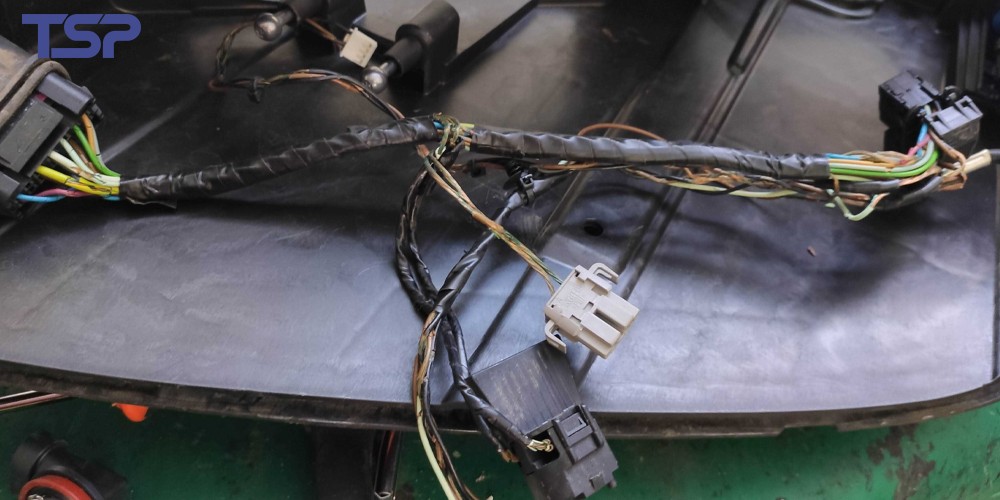
Step 6: When to Replace Instead of Repair
If you find:
Multiple damaged wires
Severe corrosion on terminals
Burnt insulation across sections
…it’s often safer and more cost-effective to replace the entire wiring harness.
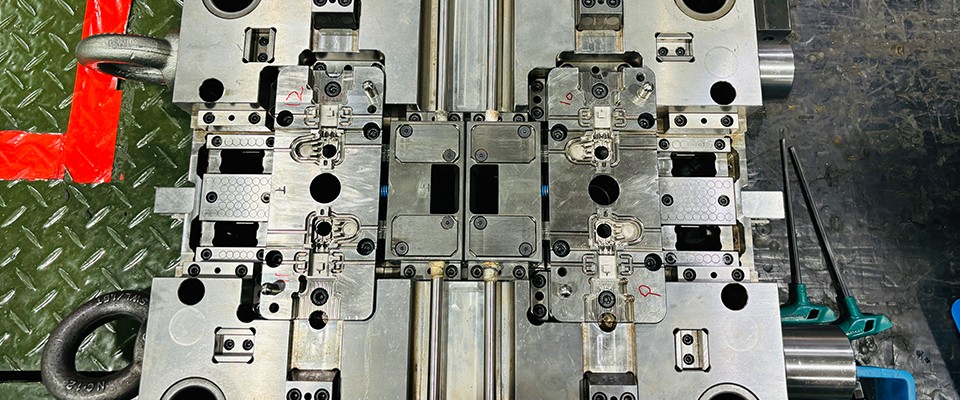
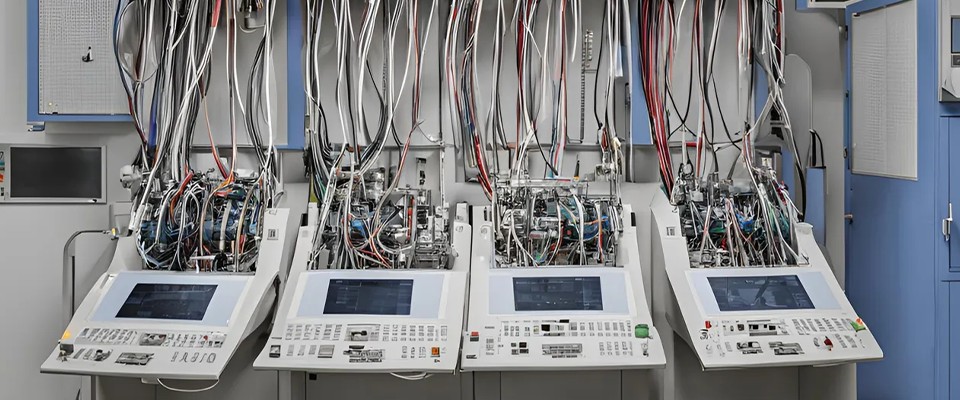
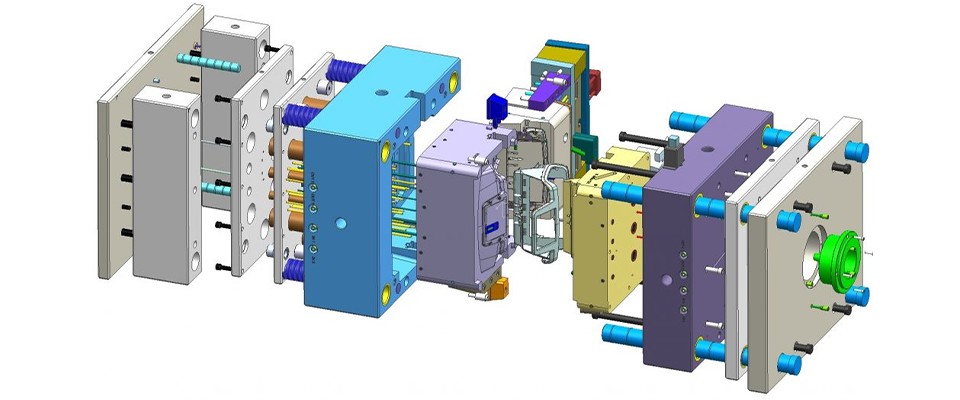
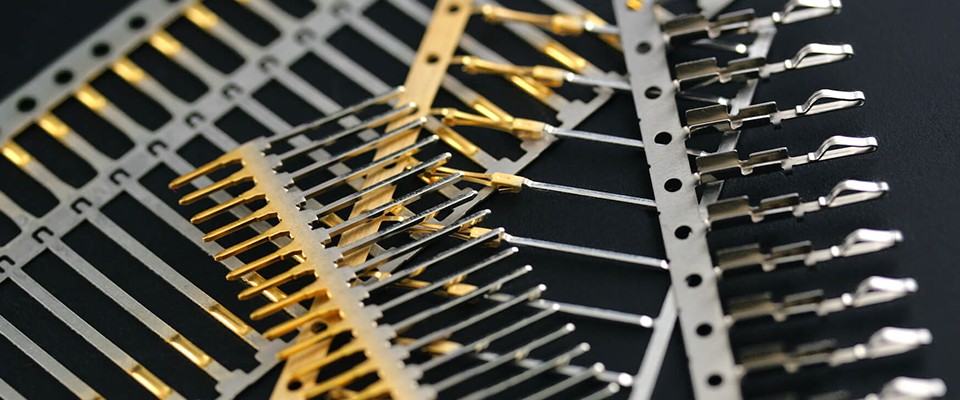
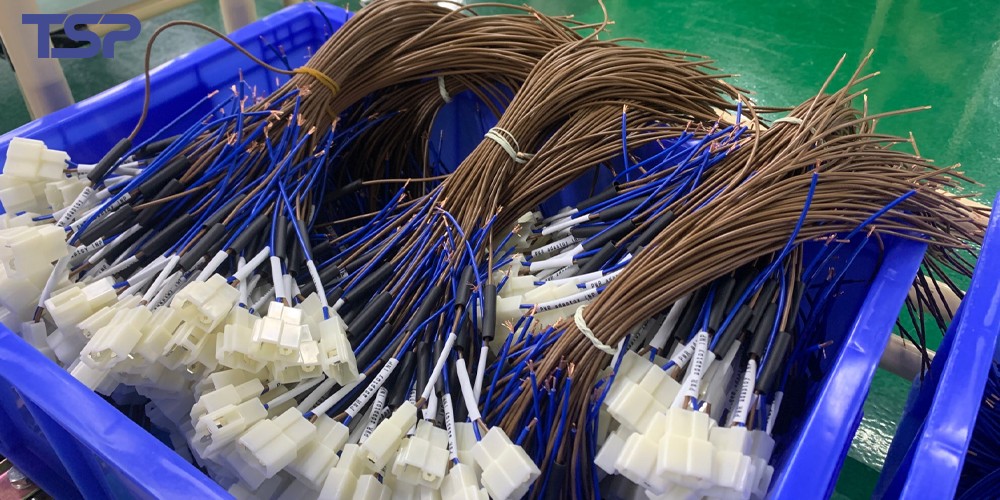
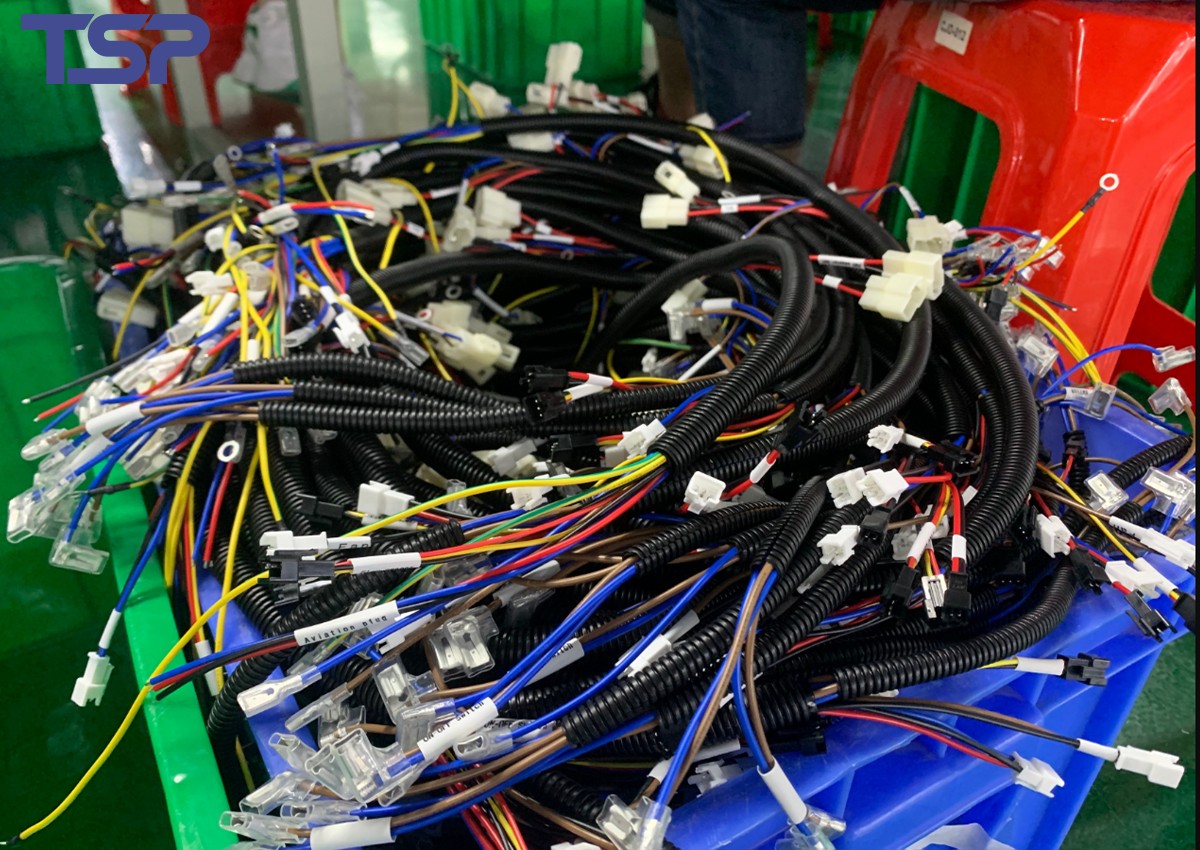
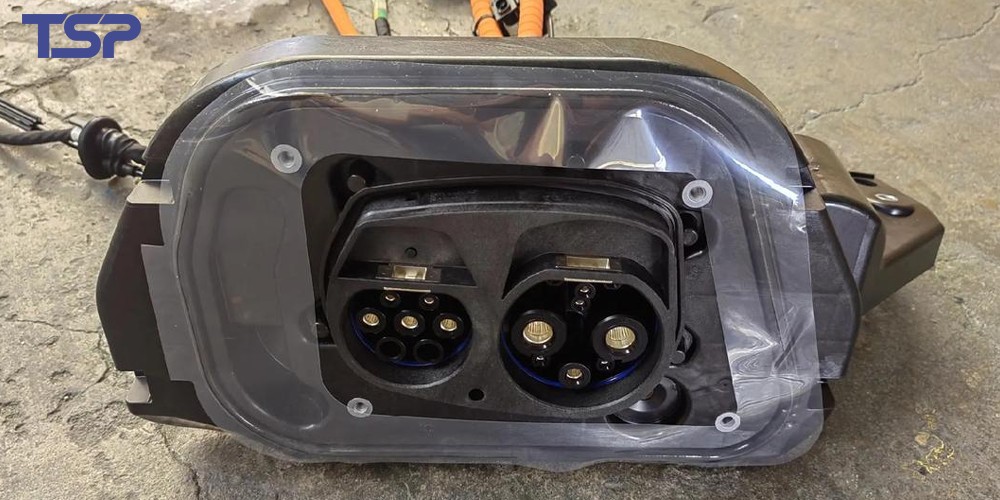
Professional Tip: Choose High-Quality Wiring Harnesses
While inspection and testing are essential, prevention starts with quality.
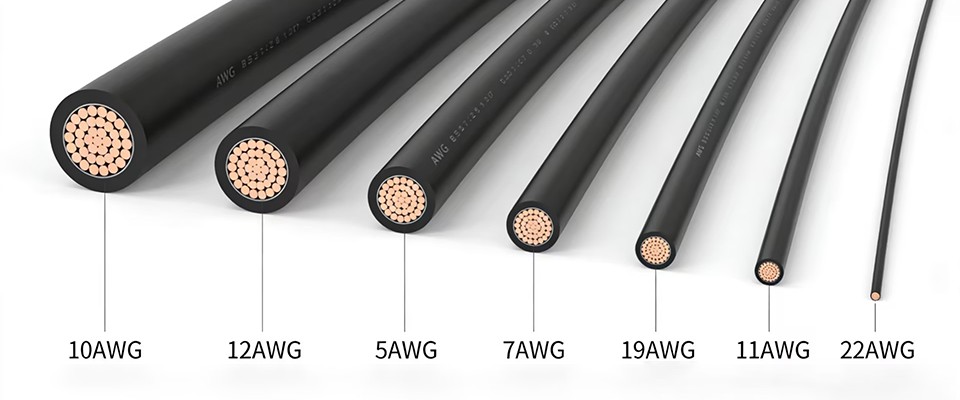
Precision-engineered harnesses are designed with:
High-grade copper conductors for durability
Heat- and abrasion-resistant insulation
Reliable connectors that reduce failure rates
👉 As a precision wiring harness manufacturer, we provide solutions built to last in demanding industries like automotive, medical, and industrial automation. If you need replacement harnesses or customized designs, our products are engineered to minimize downtime and maximize reliability.
Final Thoughts
Knowing how to check a wiring harness is a valuable skill for technicians, car owners, and engineers alike. By combining visual inspection, electrical testing, and proper tools, you can quickly identify issues and prevent bigger failures.
When replacement becomes necessary, investing in precision wiring harnesses ensures long-term reliability and performance.
To read more: TSP Shanghai Achieves 1000KW Solar Power Milestone